Welcome to veltrixfloor’s step-by-step guide for installing modular interlocking garage floor tiles. This DIY guide is designed to help you transform your garage effortlessly, adding both style and functionality to your space. Follow these simple steps to ensure a smooth and successful installation.
Begin at the Entrance
• Start placing the tiles from the garage entrance, leaving a 5-10 mm gap between the tiles and the walls. This allows space for any expansion due to temperature fluctuations.

First Row Alignment
•Ensure the female (looped) sides face away from the entrance and the wall as shown. Finish laying the first row.

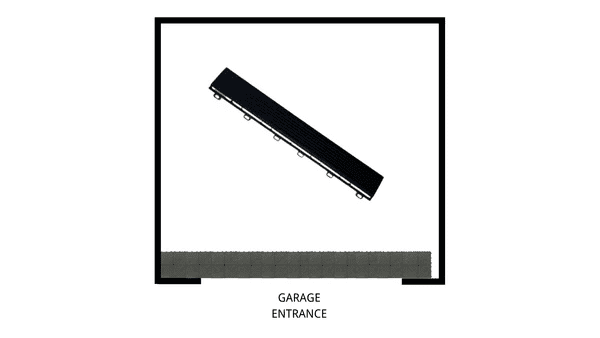
Attach the Ramps
• Snap the female ramp edges (looped) onto the male side of the tiles for easy entry and exit with vehicles.
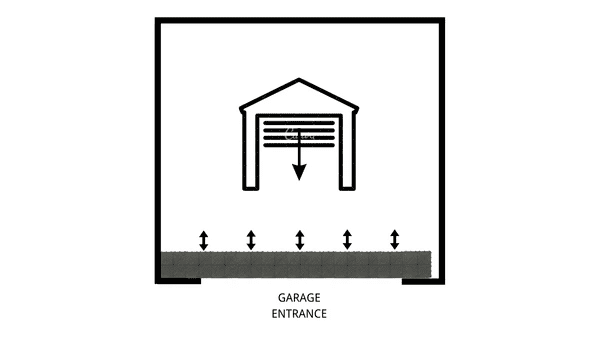
Garage Door Area
• Ensure the tiles around the garage door are laid carefully to avoid obstructing the door’s operation.
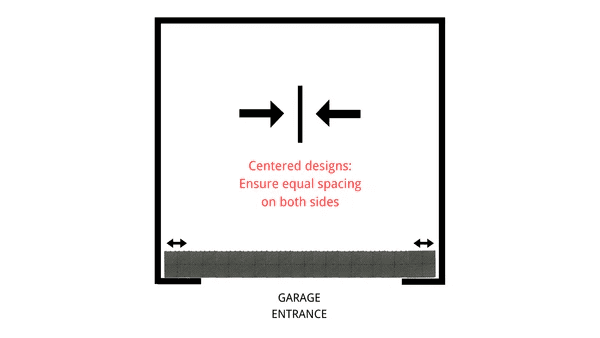
Centered Design (Optional)
• If you prefer a centered layout, adjust the alignment before starting to achieve equal spacing on both sides.
Laying Remaining Tiles
• Continue laying the tiles across the garage floor. When you approach the walls, some tiles may need trimming to fit perfectly.

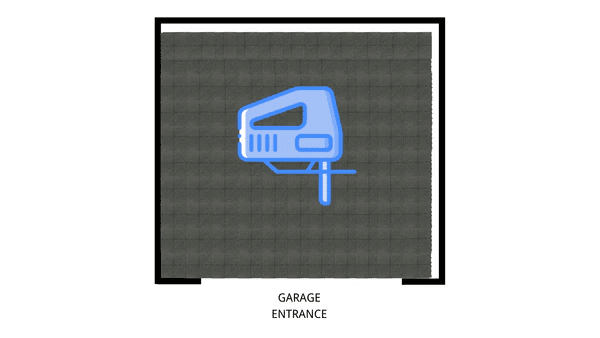
Cutting to Fit
• Use appropriate tools (such as a fine-tooth jig saw) to cut tiles as needed, ensuring they fit snugly along the edges.
Cleaning and Final Enjoyment
• After installation, cleaning and enjoy the sleek and functional new flooring system from HexaSpace!
For assistance, feel free to contact us at: info@healthy-iguana.10web.me
© 2025 veltrixfloor . All Rights Reserved.
138 Duckworth Rd.
Dalton, GA 30721
1-866-748-7940
© 2025 | Veltrixfloor
All Rights Reserved